This article contains a mostly detailed log and process of doing a laptop upgrade, and then generalized lessons from it all the repairs and upgrades I’ve done.
Introduction
It was a cold, December day, right before the school winter break. Menial school tasks kept me busy from becoming so bored as to do something stupid, and inbetween tasks I chatted with my Dear Friend Sara. At one point in our discussion the topic of computers came up. Despite her prowess in operating computers, she complained that her laptop was becoming progressively slower, and nothing she did with her Windows installation changed that. My immediate hypothesis was that her laptop had a hard drive, which was either slow due to natural hard drive aging, or was at immediate risk of dying, resulting in loss of data. We arranged for her to give me the laptop, and told me to make it work by any means necessary – however taking in mind her low budget as a high school student.
This was my first ever repair of electronic equipment for someone else. I often built and repaired electronics on my own, however due to lack of confidence I never dared to help others. However, in this situation, as external help would have been prohibitively expensive, I decided to try to do what I could.
First repair
Before even picking up the laptop, I immediately looked up its configuration and found out that my initial intuition was correct – there was only a slow, mediocre hard drive inside of the laptop. The laptop itself, however, was quite decent. A 7th generation Intel i3, 4GB of RAM, an dedicated AMD graphics chip and a 1080p screen meant that the laptop, with some modification, could be made much faster and last longer – much longer than it would have without the modifications.
The first lesson I learned from this is that when repairing/upgrading electronics, the customer’s requirements are the most important part. Knowing my friend and having the possibility of asking her questions for the exact purposes she will be using the laptop for, made the process much more cost-effective, as I knew what to keep and what to replace, and how far I was able to go. These are the main points we discussed:
What will the laptop be used for?
She told me that she mostly used it for doing schoolwork, listening to music, watching movies and anime. It won’t be used for gaming and doing any kind of processor- or graphics-intensive work, meaning that the processor and graphics (which can’t be replaced) were more than fast enough. This then influenced the decision of advising her to upgrade this laptop, instead of just telling her to buy a better one.
What are your “memory habits”?
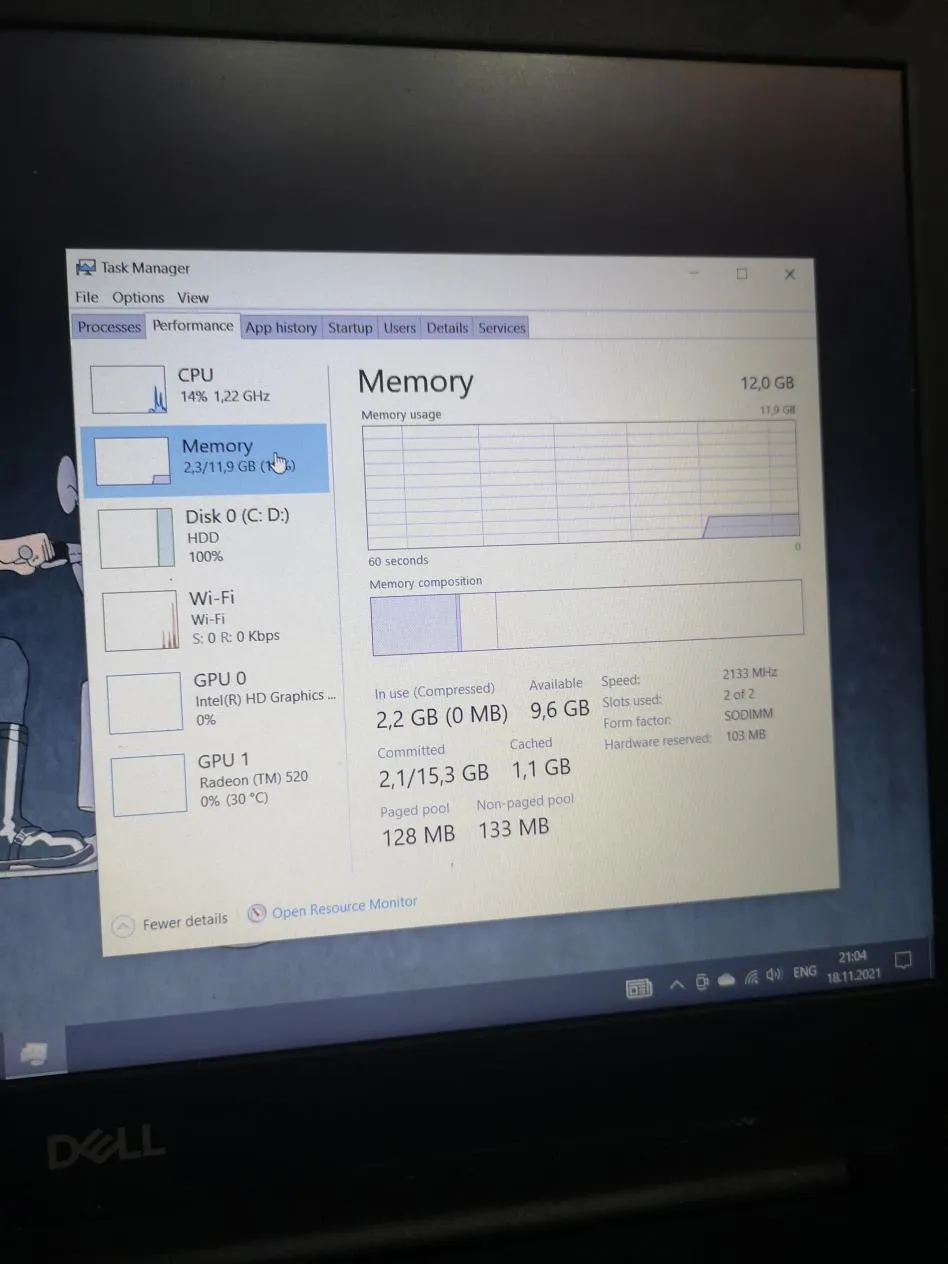
She told me that she did like to keep many tabs and programs open simultaneously, which meant that the RAM would have to be upgraded. Since the laptop initially had 4GB of RAM, I decided that an additional 4GB would be ideal, given that there was a free SODIMM slot and the laptop apparently supported a maximum of 16GB.
How often will the laptop be used?
She told me that she uses the laptop for many hours a day, which meant that I’d have to be a lot more picky with my components choices – to only choose reputable products that have been reviewed and tested, especially as this laptop is supposed to last for a long time on a low budget.
How much storage is necessary?
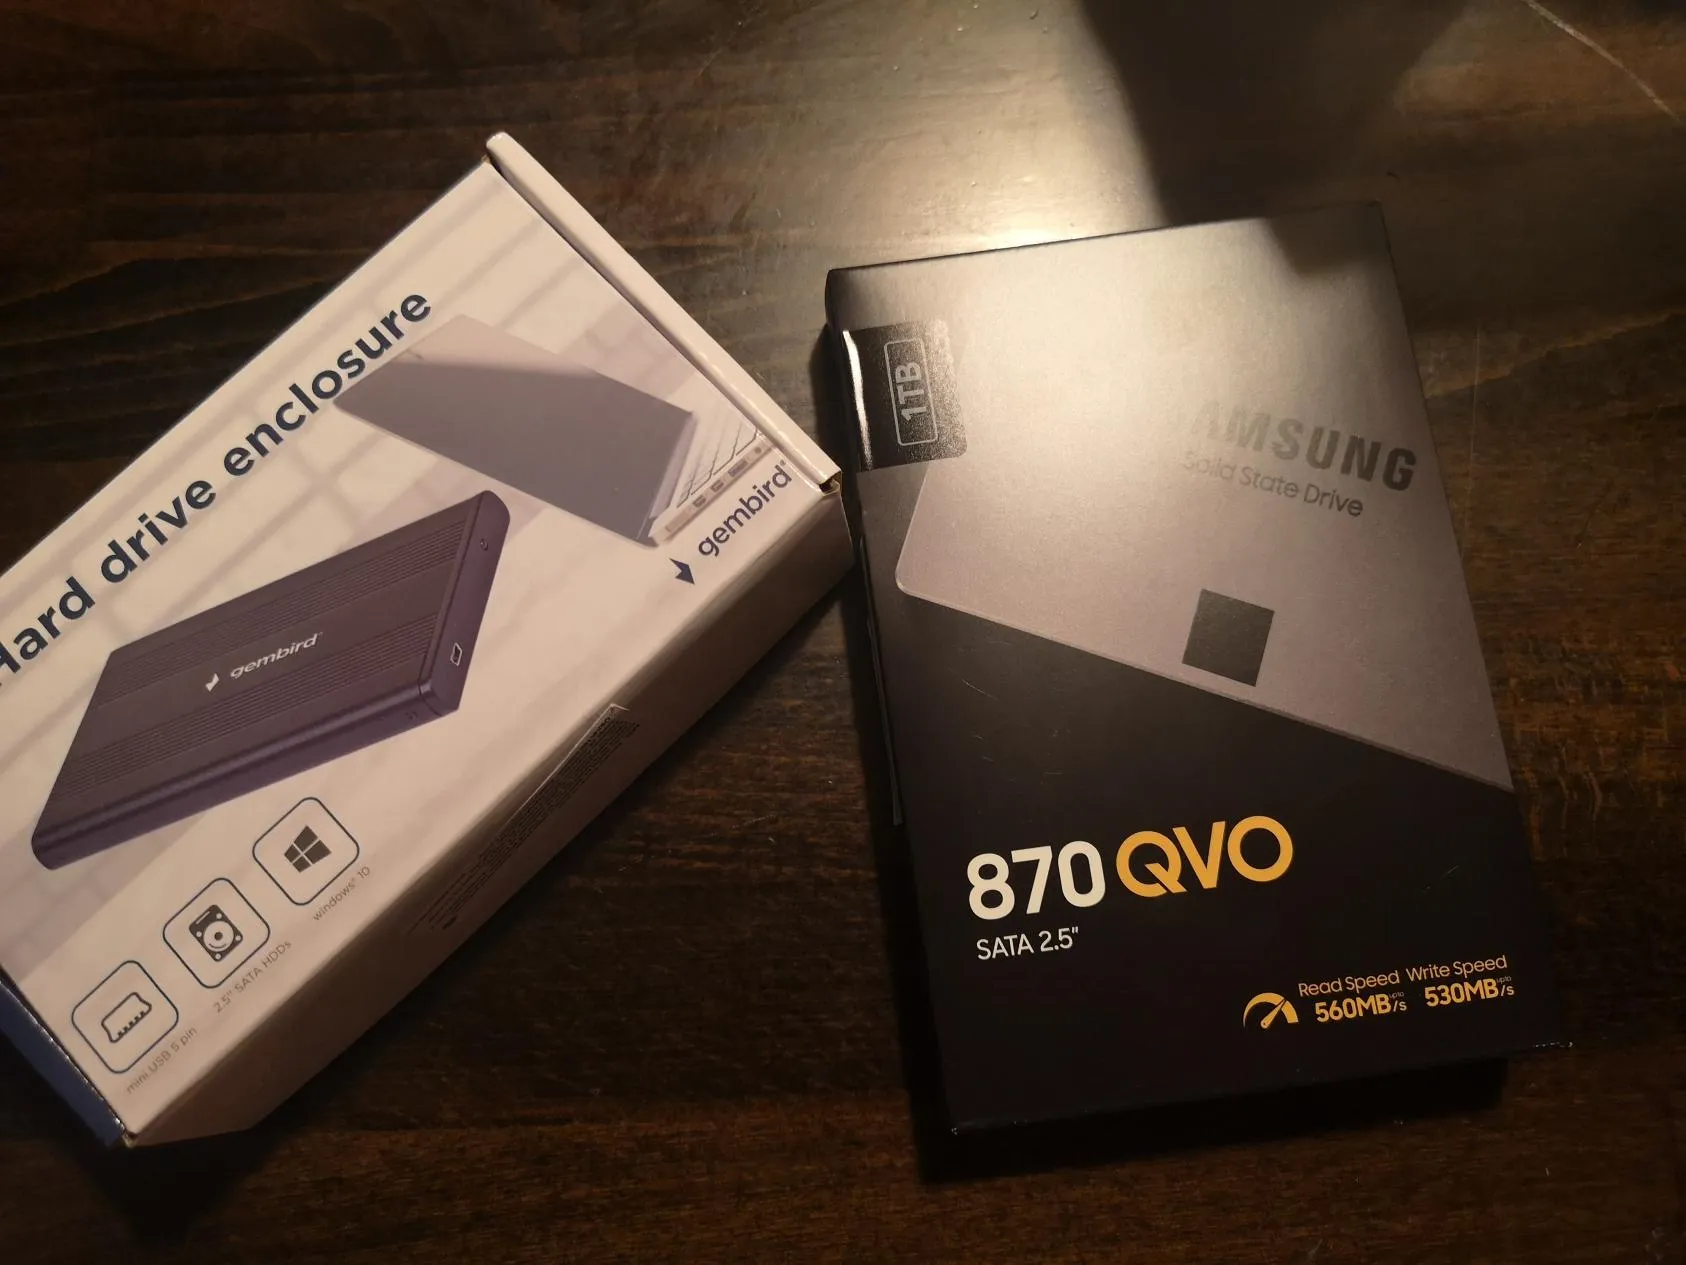
She told me that she only uses about 15GB of storage currently, most of which was taken up by the Windows 10 installation and saved documents – most documents were also backed up on Google Drive. The main purpose of this repair was to make the laptop faster and more responsive, which immediately told me to go and buy a cheap, reliable 120GB SSD and replace the hard drive. Since the SSD won’t be written to often, just read, it should last for the entire lifespan of the laptop. On the internet, the laptop was labeled as having only a SATA3 port, meaning that I’d have to get a SATA3 SSD… or so I thought…
Doing the repair itself
I decided to restrain myself from buying the components before opening the laptop up. This was due to an idea that there might have been a cooling issue that could fix everything without having to buy new components. This didn’t turn out to be the case, however opening up the laptop gave me an essential revelation that made the upgrade much better. Despite what information on the internet said, there was an M.2 SSD slot. This was perfect, as I would be able to add a ludicrously fast SSD, while keeping the original hard drive. After this discovery, I ran some tests and benchmarks on the hard drive, which indicated that it was healthy and not dying – it was simply just slow by virtue of being a 5400RPM budget laptop hard drive. I found a fitting M.2 SSD, and then went on to look at the RAM.
Initially, I planned to add 4GB more, since 8GB would be enough for the aforementioned purposes. I wrote down the exact part numbers and went directly to my local computer parts stores. Unfortunately, as is common here, poor inventory management in regards to website integration, meant that even though I could get the SSD, there was no 4GB RAM left anywhere. However, it turned out that 8GB RAM was only slightly more expensive, despite it being a much better upgrade than 4GB.
This whole experience taught me that it’s often better to take a slightly slower and safer route when doing repairs like these, as if I had rushed to buy the components, I would have gotten a suboptimal SSD configuration, and had the main issue been with the cooling, the parts would have been pointless.
With the parts on hand, I placed them in the laptop, used Macrium Reflect to clone the Windows 10 installation to the SSD and backed up the entire laptop hard drive on my own external hard drive. After I was sure both copies were good, I wiped the laptop hard drive, making it faster in the process, and booted up the laptop with the SSD in. Amazingly, the boot time went from approximately three minutes, to exactly 11 seconds. I was extremely satisfied with this repair, and the laptop even felt snappier and faster than my i5-powered desktop budget workstation, due to the extremely fast SSD. At the same time, for archival purposes or storing movies, she could still use the old hard drive, which was healthy and fast enough.
Thus, both through luck and planning, the upgrade was far more successful than even initial plans. Not only was I under the preferred budget for parts, at around 80$ equivalent (with the total parts costing ~50$ equivalent), I also over-delivered on all requirements. Since this was my first repair/upgrade, and it was done for my Dear Friend Sara, I didn’t charge anything for the time spent choosing, buying and setting up the components, and then backing up the whole hard drive, copying the whole operating system, and then running some tests and benchmarks to see if everything was working well. I was just happy to see my friend happy, and having done her a favor. However, I did ask her to recommend me to any family or friends she sees in need of laptop repair. Once some of her family and friends contacted me to do the same, I went through the exact same process, and either charged nothing, or a minimal price for repairs and upgrades. Usually, the total price of the parts and 10$ equivalent.
Lessons learned
One thing to take in mind is that initially, while finding out your workflows, repairs might take a long time. The thought of working ~10 hours, doing delicate and risky repairs, for only 10$, might initially seem silly, but asking for referrals instead of charging more turned out to be an amazing long-term idea. Soon enough, multiple people with multiple devices began contacting me, and I took every opportunity I could, since I knew that most repairs were extremely simple to diagnose. A tablet which won’t charge? In 99% of cases, it’s just a damaged USB charging port – the most common issue on mobile devices. Laptops often have issues with their hard drives or display backlights. Desktop computers can have many issues (most often the power supply or hard drive), but since it’s really easy to replace and test parts, repairing desktops is often a comfortable experience. Having all of these in mind, I went and ran with all of the opportunities.
At the same time, with every successful repair, I gained more experience and updated my processes to become faster. I wrote down the exact processes for most of the aforementioned common problems and kept a USB with repair and diagnostic software that can be used to fix most issues. The time for repairs drastically lowered, from ~10 hours for the first, to ~5 hours for the second, and it went down and down the further I went.
At one point, since school began to get stressful and difficult, and my situation didn’t give me any free time at all, I had to turn down repairs, only finishing the ones I had. By the end, I had made quite a lot of money, at least for a high school student whose income before had been zero.
Once the summer break came, I began to take up repair work again, however this time I decided to only do repairs for friends, for a low price, since I preferred the hobby part and the helping part more than the business part of the job. Taking up less risky repairs also opened up the potential for more creative repairs. As an example, one friend had a small amplifier for a computer speaker system, which was not working properly. It turned out that the potentiometers were faulty, and unfortunately they were a part of the case and could not be removed. For this reason, most other repair places told him to simply throw out the amplifier and get a new one. However, I decided to go the more interesting route and build a simple replacement board on a perfboard, which would include my own potentiometers, having reverse engineered the schematic for the previous potentiometer board. Building the board with some creative wiring afterwards made for a fun repair and the original system was back to life.